

How Do You Make DIY Wood Planters at Home?
Creating DIY wood planters at home is a rewarding project that lets you showcase your creativity while enhancing your garden. Whether you’re a beginner or an experienced crafter, this guide will walk you through the steps to make beautiful and functional planters that will bring life to your outdoor space.
Gather Your Materials
Start by collecting all the essential materials you’ll need for your wood planters. This includes wood boards, nails or screws, wood glue, sandpaper, and a suitable finish to protect your planters from the elements.
Make sure to choose quality materials for durability. Pressure-treated wood or cedar are excellent options, as they resist rot and insects. It’s essential to account for the size of your planters when purchasing wood, so measure well!
Don’t forget about drainage! Small rocks or gravel can help create a drainage layer at the bottom of your planter. This is crucial for plant health, as it prevents water from pooling and ensures proper aeration.
Choose a Design
Decide on the size and design of your planters. You can opt for simple rectangular boxes or more intricate shapes. Sketching your design can help guide your construction process.
Consider how the planters will fit into your outdoor space. Will they be part of a decorative arrangement, or stand alone? Knowing their purpose can influence your design choices.
Don’t shy away from creativity! Try incorporating unique features like trellises for climbing plants or built-in benches for seating. Your design can reflect your personality and style.
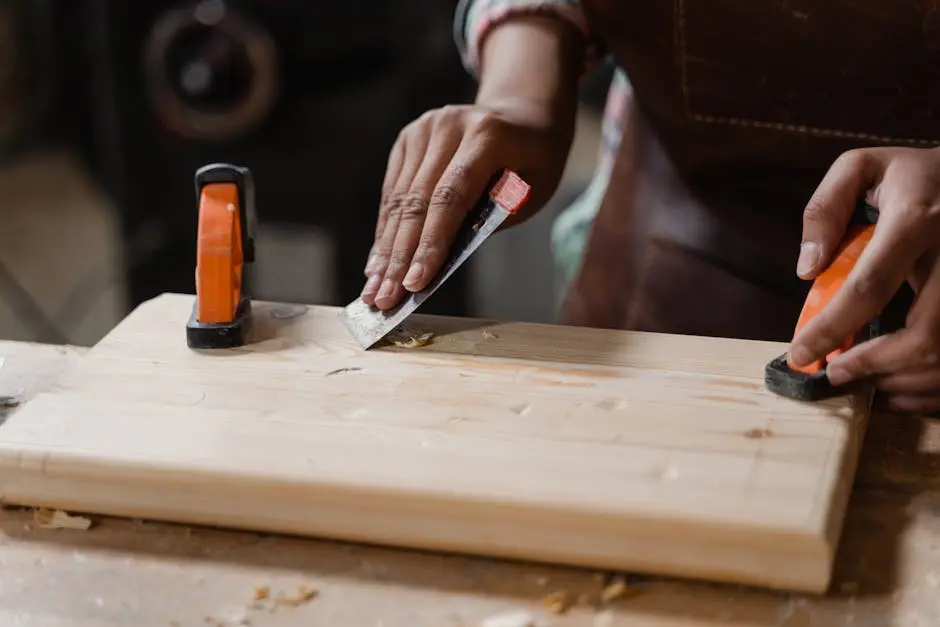
Cut and Assemble the Wood
Using a saw, carefully cut the wood according to your design measurements. Assemble the pieces together using nails, screws, or wood glue, ensuring everything is secure and aligned properly.
It’s important to pre-drill holes for the screws to avoid splitting the wood, which can happen if you’re working with thicker boards. When assembling, take your time and check for right angles; it will make the final product look more polished.
After assembling, run your hand along the edges of the planter to check for splinters or rough patches. A little extra sanding now will pay off later when you’re handling your new planters!
Finish and Protect Your Planters
Sand the edges to avoid splinters and apply a protective finish, such as wood stain or sealant, to prolong the life of your planters. Allow sufficient drying time before placing them outside.
Choosing the right finish can enhance the natural beauty of the wood. A clear waterproof sealant can protect against rain, while a colored stain can add a lovely touch of style to match your outdoor décor.
After the finish is applied, let your planters cure for a few days in a well-ventilated area. This step ensures that any harmful fumes dissipate and that your planters are safe for plants.
Plant and Enjoy!
Once your planters are ready, fill them with potting soil and your favorite plants. Now, sit back, water them regularly, and enjoy the beautiful greenery they bring to your space.
You can customize the plants based on the sunlight in your area—perhaps herbs for a sunny spot or ferns for shaded areas. This personal touch not only beautifies your space but can also provide you with homegrown produce.
Consider adding decorative touches like stones or decorative stakes to personalize your planters. Over time, your plants will flourish, creating a vibrant and lively addition to your home.
Wrap-Up
With the right materials and a bit of time, you can craft your own wood planters that reflect your style and meet your needs. Enjoy the process, and soon enough, you’ll have stunning planters to show off in your garden!